| cad | ||
| wx250s_custom | ||
| LICENSE | ||
| README.md | ||
SMALL
Spherical Microphone Arrays Little Library
Copyright 2023 Pierre Lecomte - sekisushai@gmail.com
The SMALL library provides an open-source set of Computer Aided Designs (CAD)s to easily build Spherical Microphone Arrays (SMA)s (i.e. Ambisonics mics) for research or home use. The designs are made with opensCAD, they are customizable and the different parts can be directly 3D printed. Extra standard mechanical assembly elements may be required such as screws or metal rods. Two configurations are proposed: open sphere or rigid sphere. The customization parameters are the array radius, the number and position of the microphones, their type and extra options such as the possibility to embed an USB sound card inside the array. The microphone arrays signal processing for a Spherical Harmonic decomposition is provided as a code in the Faust language. Also, Python codes are provided for the calibration of the Spherical Microphone Arrays using a robotic arm.
opensCAD designs
The designs are in the cad folder:
sma_open.scadfor open SMA configuration,sma_rigid.scadfor rigid SMA configuration,
Examples of SMA configurations are provide in .json files.
See the documentation in .scad files to create or customize a SMA design.
A tutorial on how to build a SMA using the SMALL library is available here:
to do
If you build a prototype by using the SMALL library, let me know :-) sekisushai@gmail.com
SMA signal processing
To encode the microphones signals onto Spherical Harmonics signals (i.e. Ambisonics signals), one can use ambitools. See http://www.sekisushai.net/ambitools/docs/mic_encoder.html for more infos.
SMA calibration with a robotic arm
The following instructions are made for a Trossen-Robotics WindowX 250 robotic arm driven with Python-ROS API under Linux Ubuntu.
ROS 2 installation
The robotic arm is driven with ROS (Robot Operating System) 2. To install the latter, follow the Trossen Robotics instructions. Currently, the Humble distribution is used.
Robotic Arm Modification
For the task of SMA calibration, the robotic arm is modified in the following way:
- The gripper is removed and replaced with a 3D printed part holding a threaded rod,
- The robot description files for ROS are modified accordingly. All the necessary files are in the folder /wx250s_custom.
Hardware modifications
The arm gripper is removed with its servo. A 3D printed part, available at /wx250s_custom/wx250s_custom_attach.stl, is mounted in place of the gripper servo. By default, it allows to hold a M6 threaded rod aligned with the wrist rotation axis. The SMA is to be mounted on this rod. You can modify this part from the openSCAD file /cad/wx250s_custom_attach.scad according to your needs.
Software modifications
Once the Hardware modification has been completed, several files need to be updated in interbotix packages to use the new arm, named ẁx250s_custom. To do so, run the install.sh script as follows:
./install.sh
The script ask several infos to update the interbotix packages files. Also, the kinematics matrices M and Slist are computed. These matrices are needed by the Python API which will drive the robotic arm.
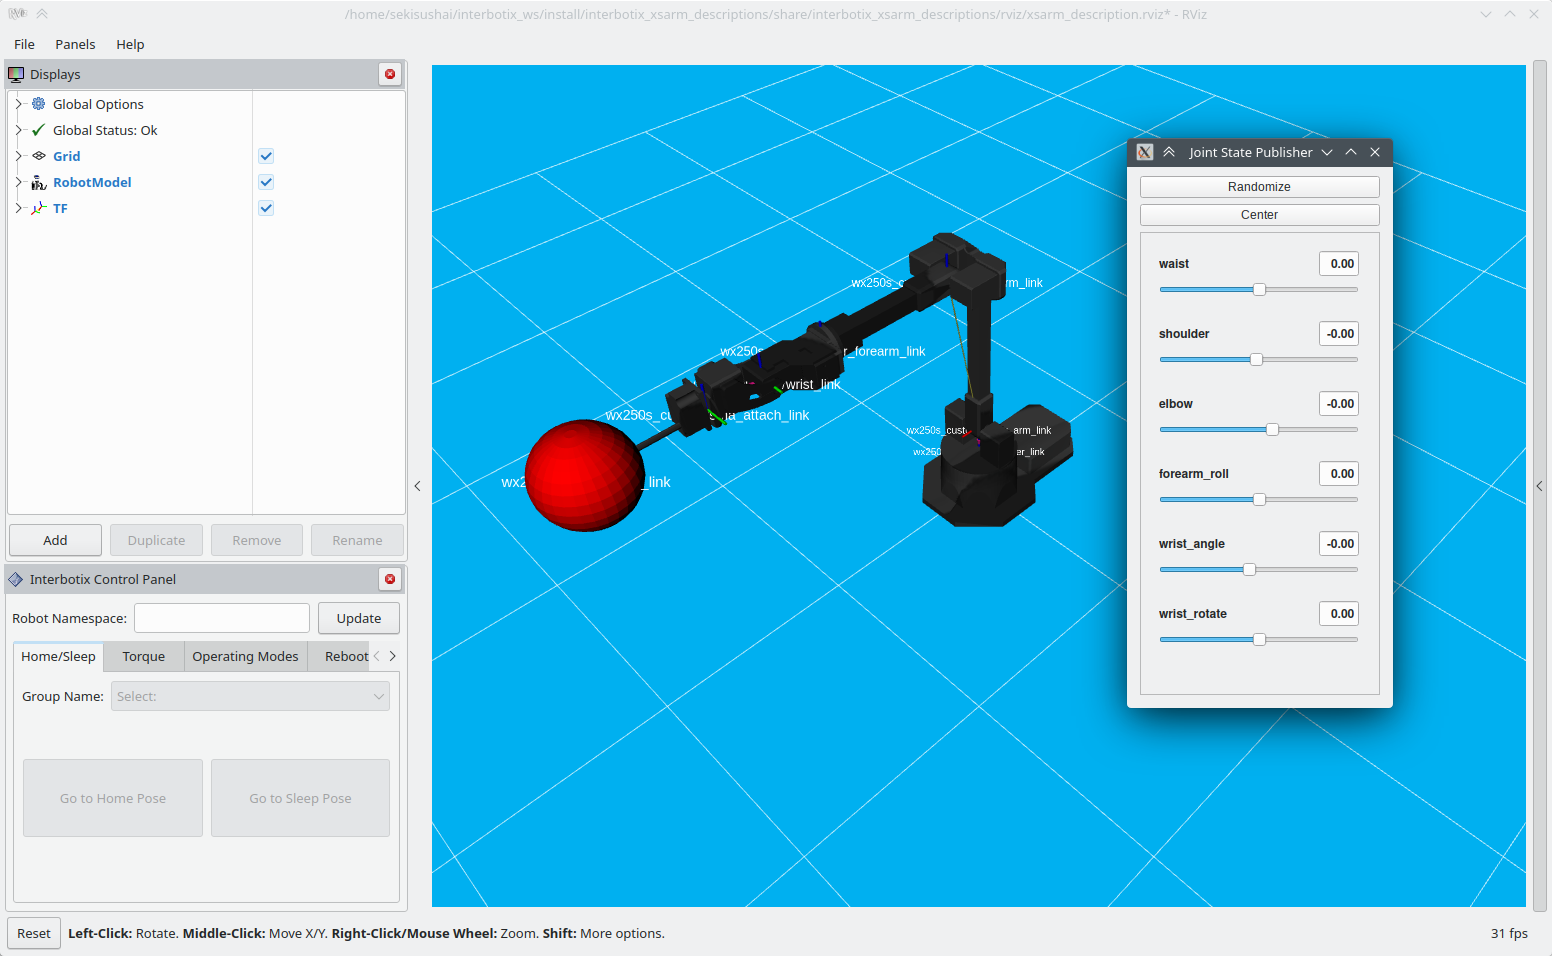
ros2 launch interbotix_xsarm_control xsarm_control.launch.py robot_model:=wx250s_custom use_sim:=true
You should see this:
